Table of contents
- Step 1 : Log in to Jenkins
- Step 2 : Install Required Plugins
- Step 3 : InstallPipelineplugin
- Step 4 : Installdockerplugin
- Step 5 : Installdocker pipelineplugin
- Step 6 : Create a Pipeline Job
- Step 7 : Define Pipeline Configuration (Jenkinsfile)
- Step 8 : Save and Run the Pipeline Job
- Step 9 : Access Your Application
Deploying applications efficiently is crucial in today's fast-paced development environment. In this tutorial, we'll explore how to automate the deployment process of a Go web application using Jenkins, a popular automation server, and Docker, a leading containerization platform.
Prerequisites:
Access to a Jenkins instance with administrative privileges.
Basic understanding of Jenkins pipelines and Docker.
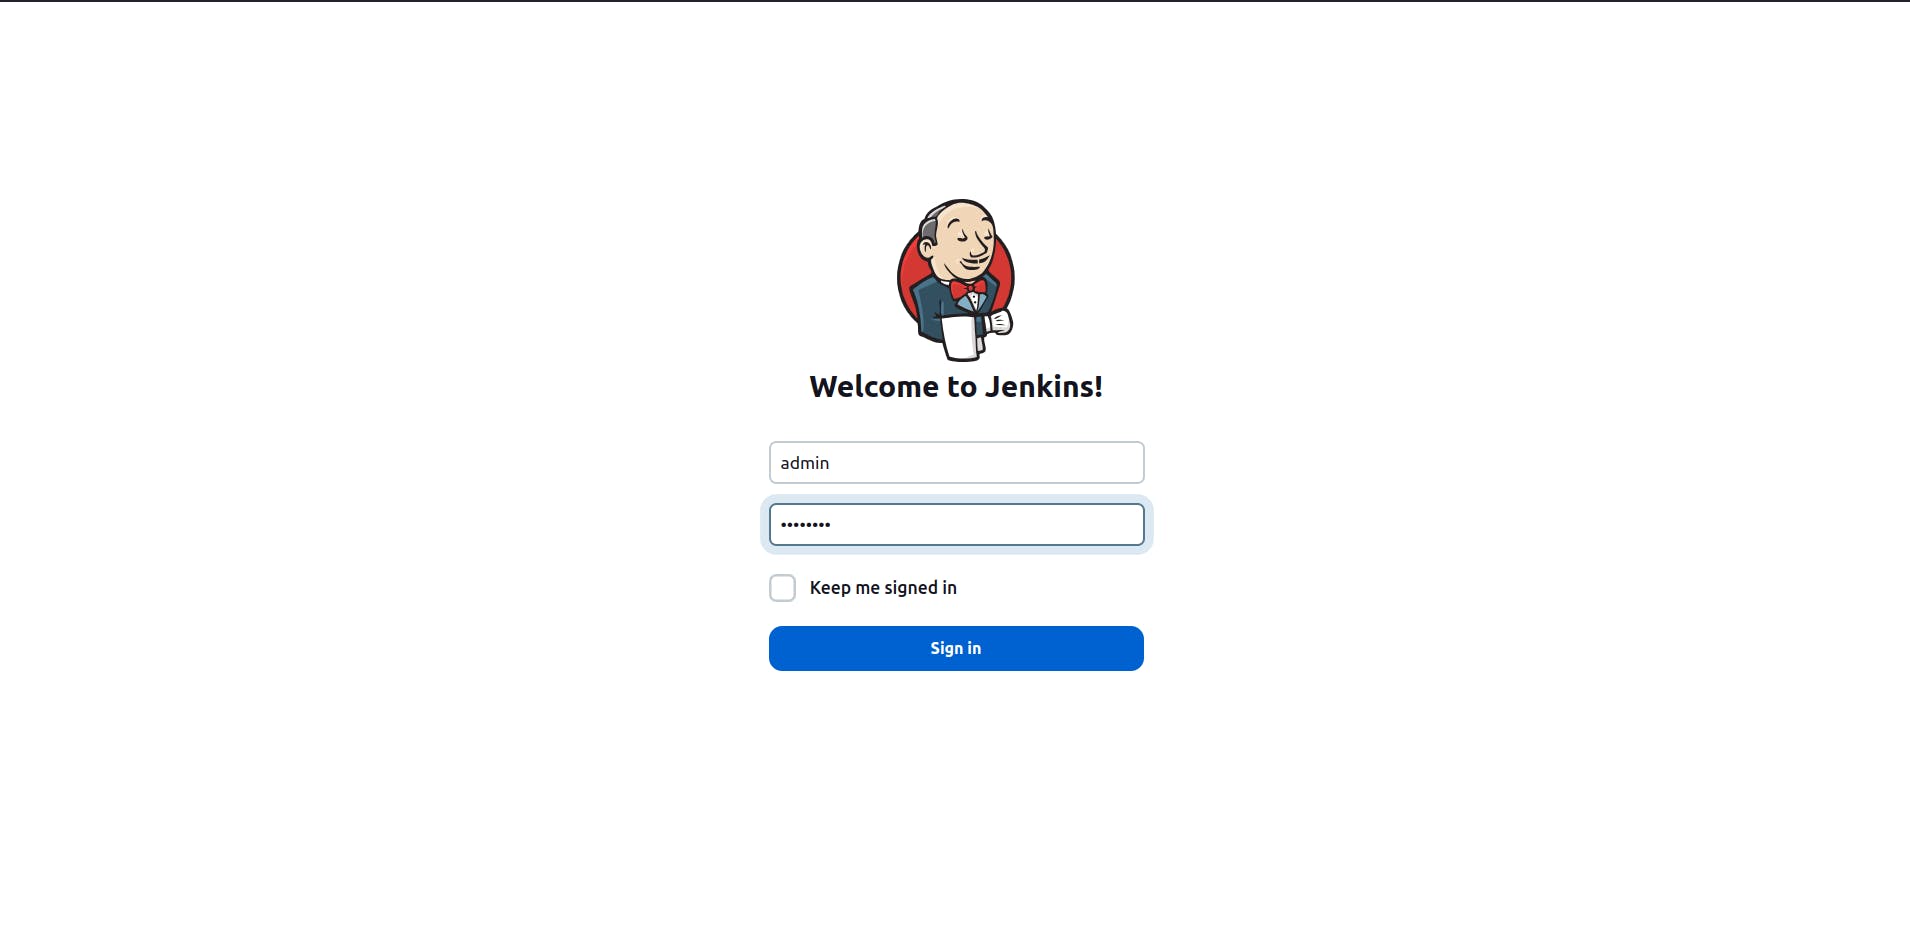
Step 1 : Log in to Jenkins
Log in to your Jenkins instance using your credentials.
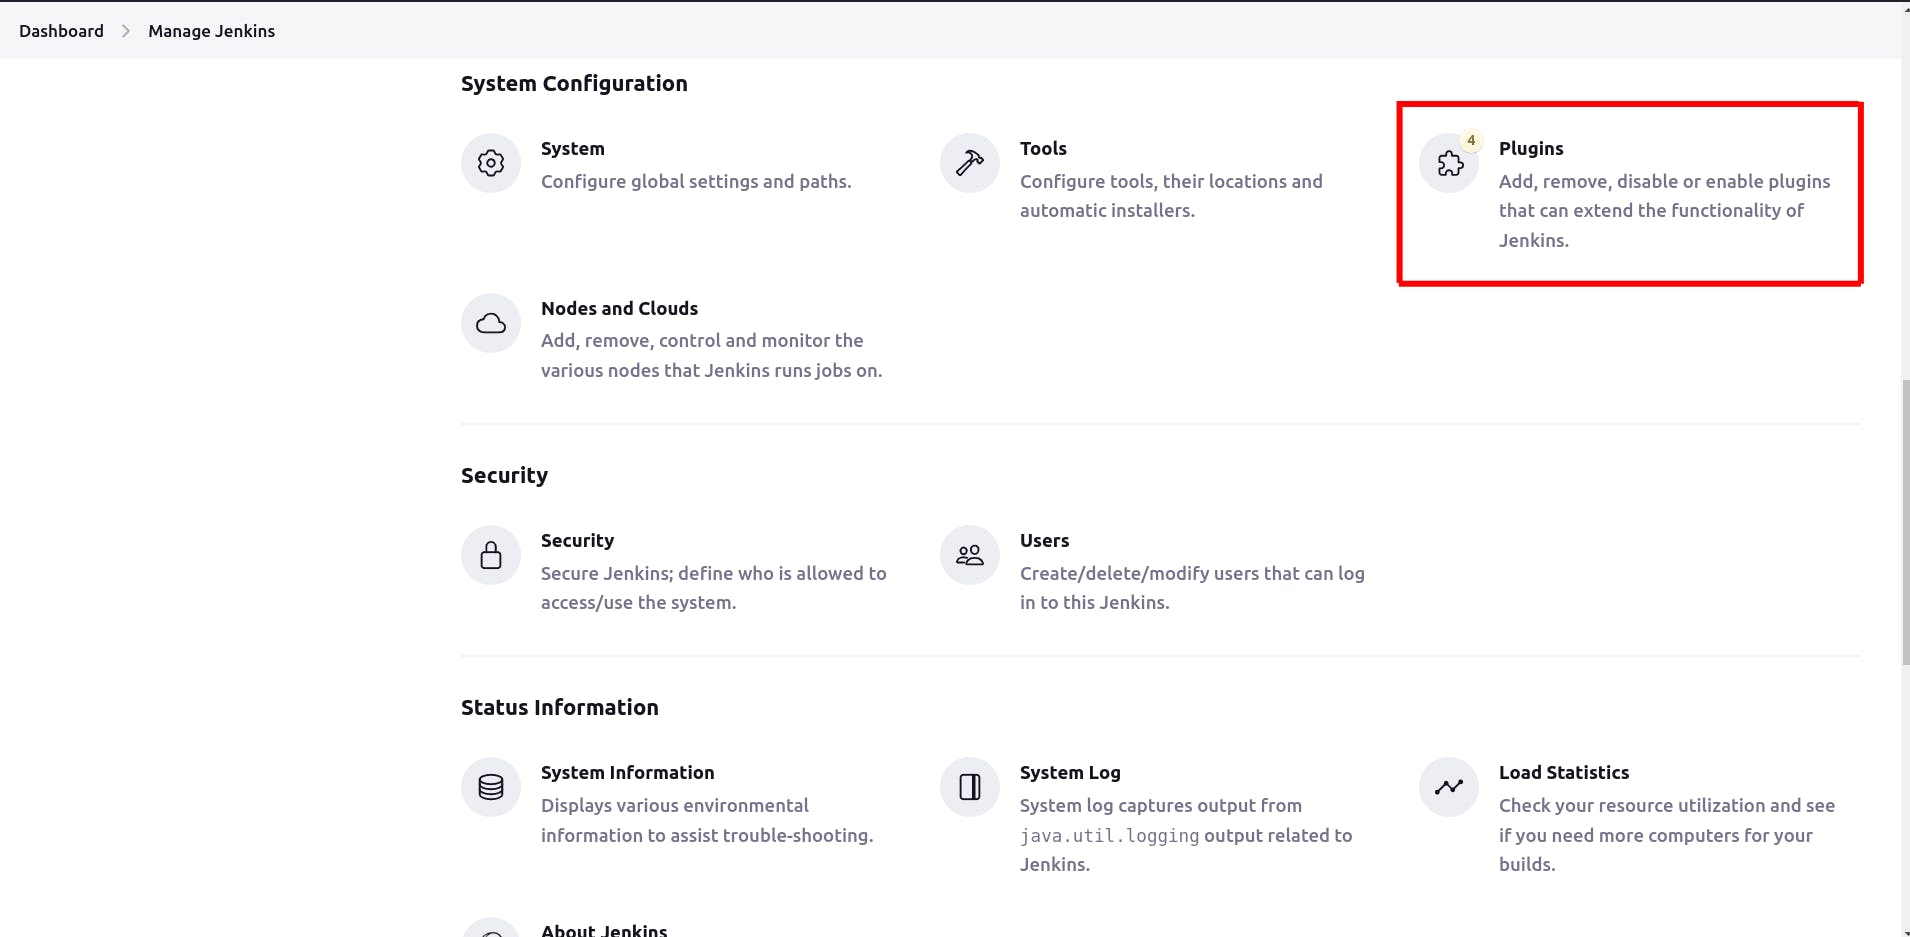
Step 2 : Install Required Plugins
Navigate to "Manage Jenkins" -> "Manage Plugins" and install the following plugins:
Pipeline plugin
Docker plugin
Docker Pipeline plugin

Step 3 : InstallPipelineplugin
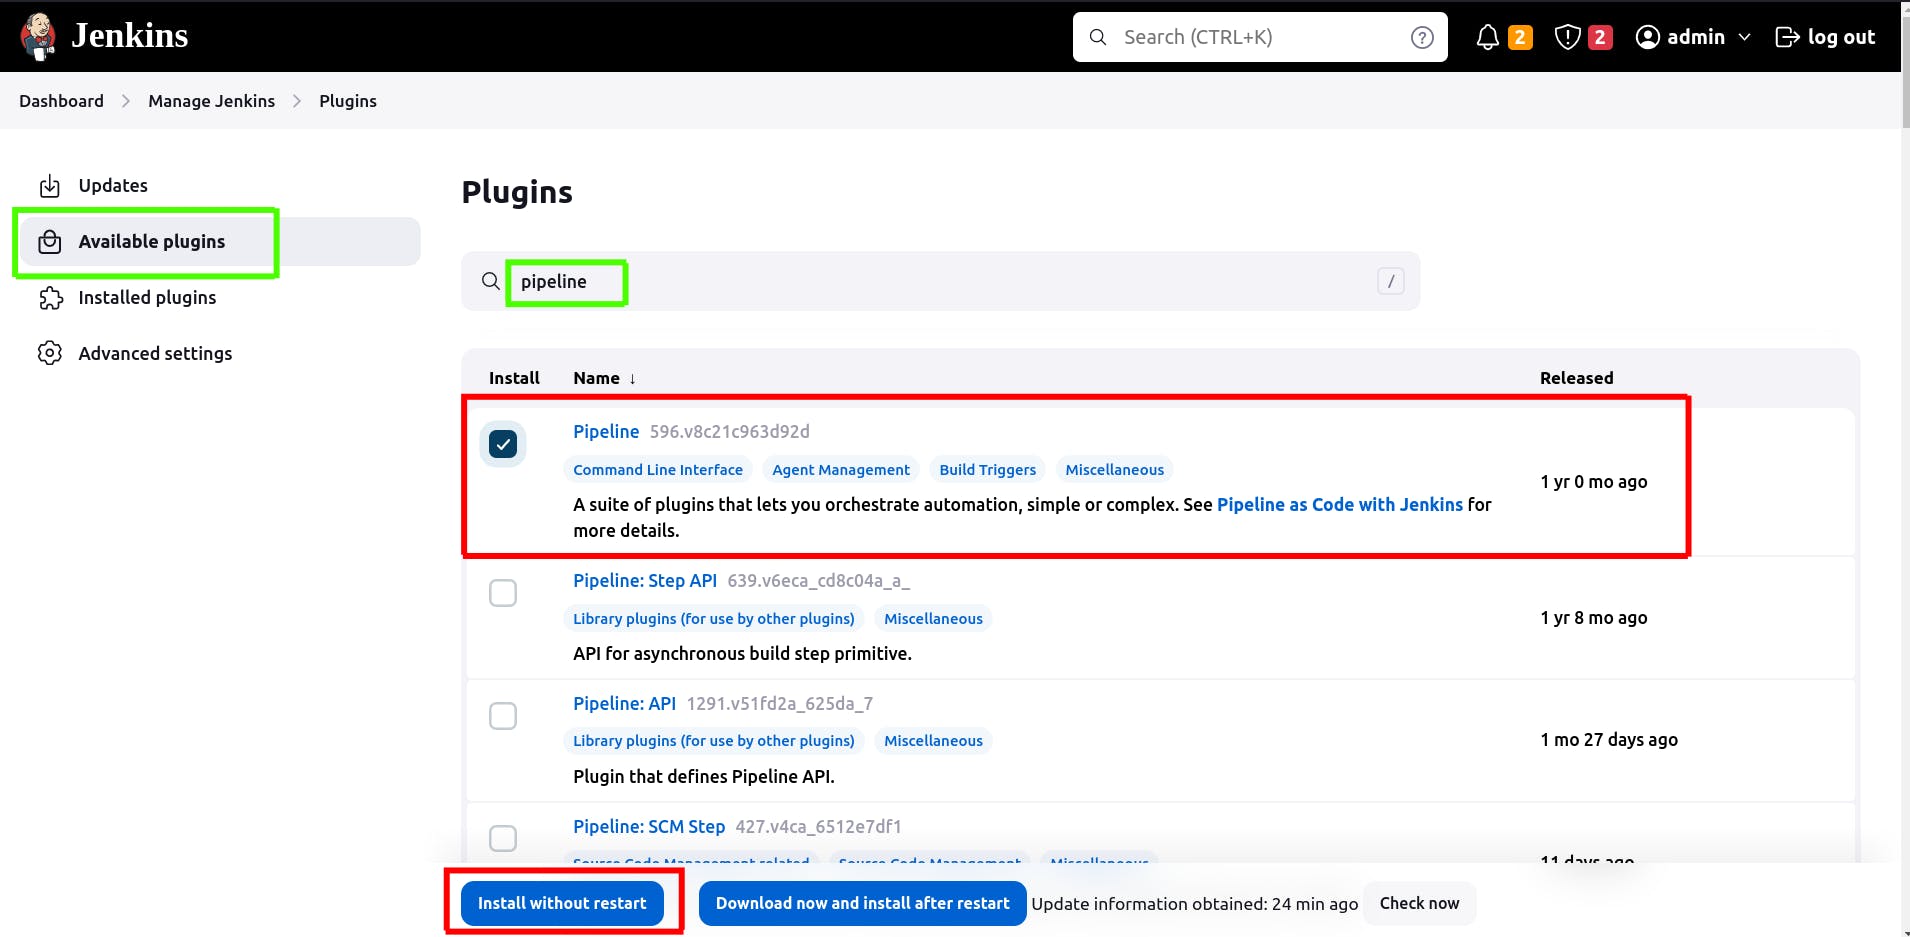
Note: Just in case Jenkins page gets stuck after restart please try to refresh it.
Step 4 : Installdockerplugin
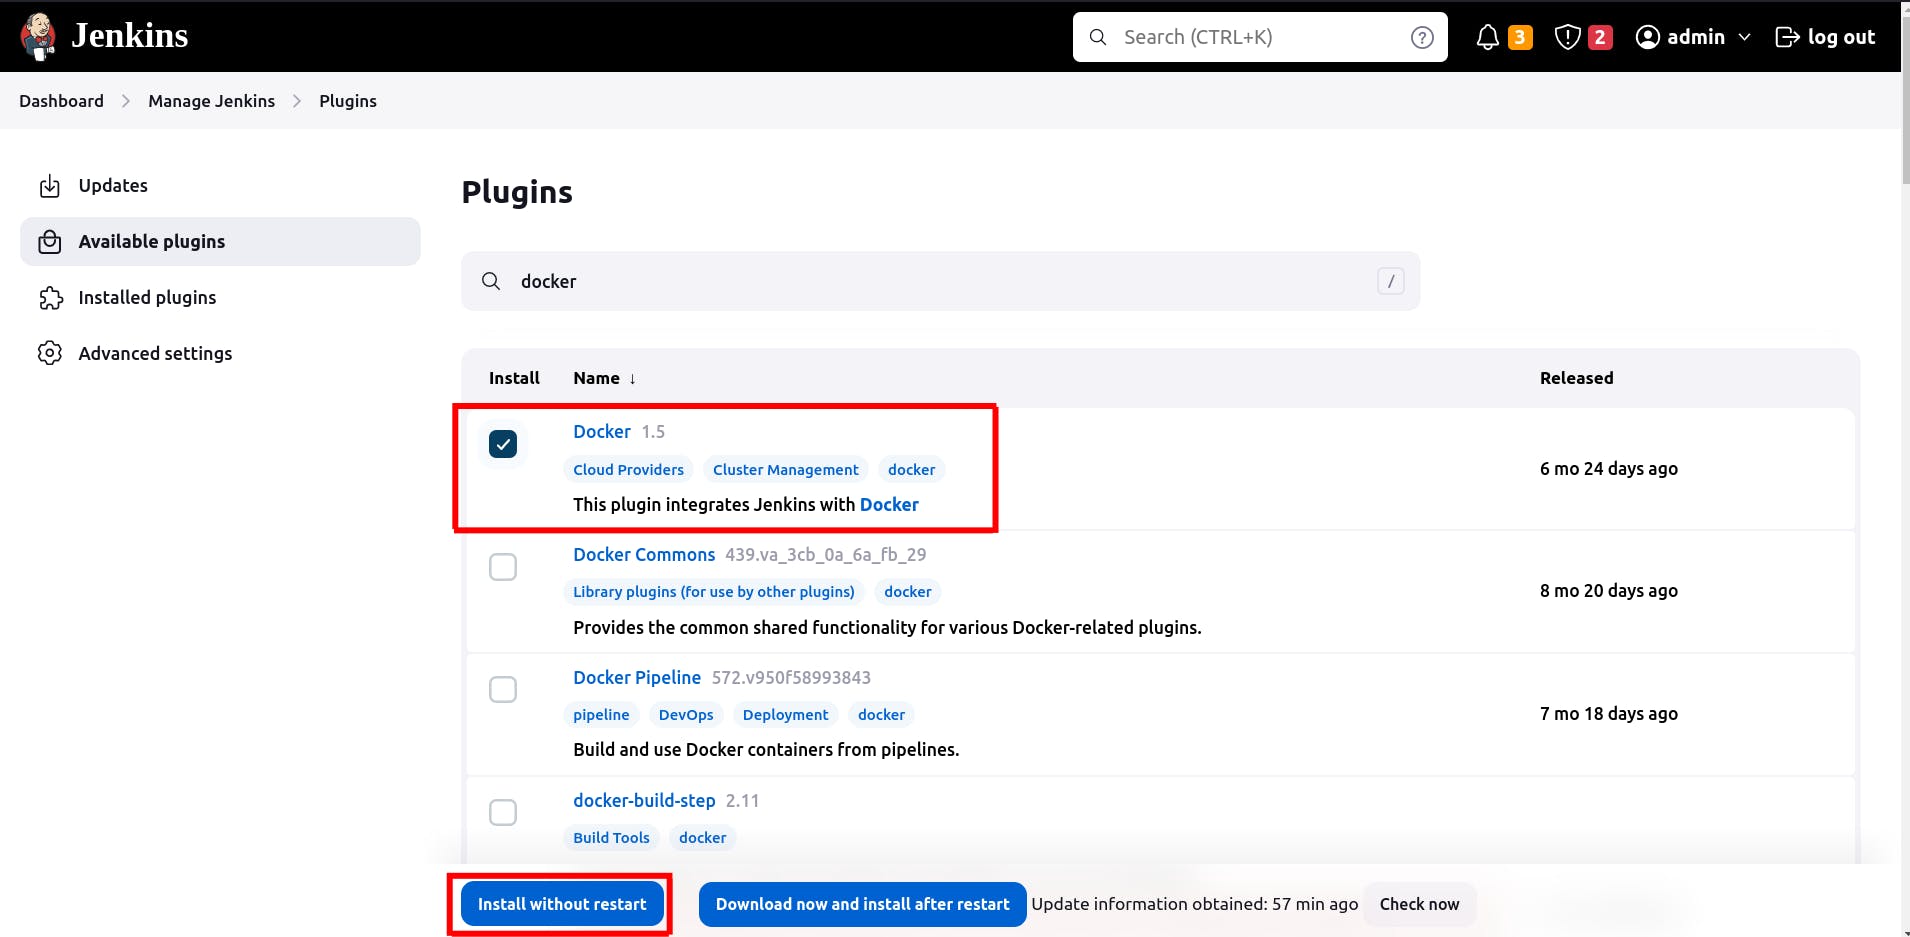
Note: Just in case Jenkins page gets stuck after restart please try to refresh it.
Step 5 : Installdocker pipelineplugin
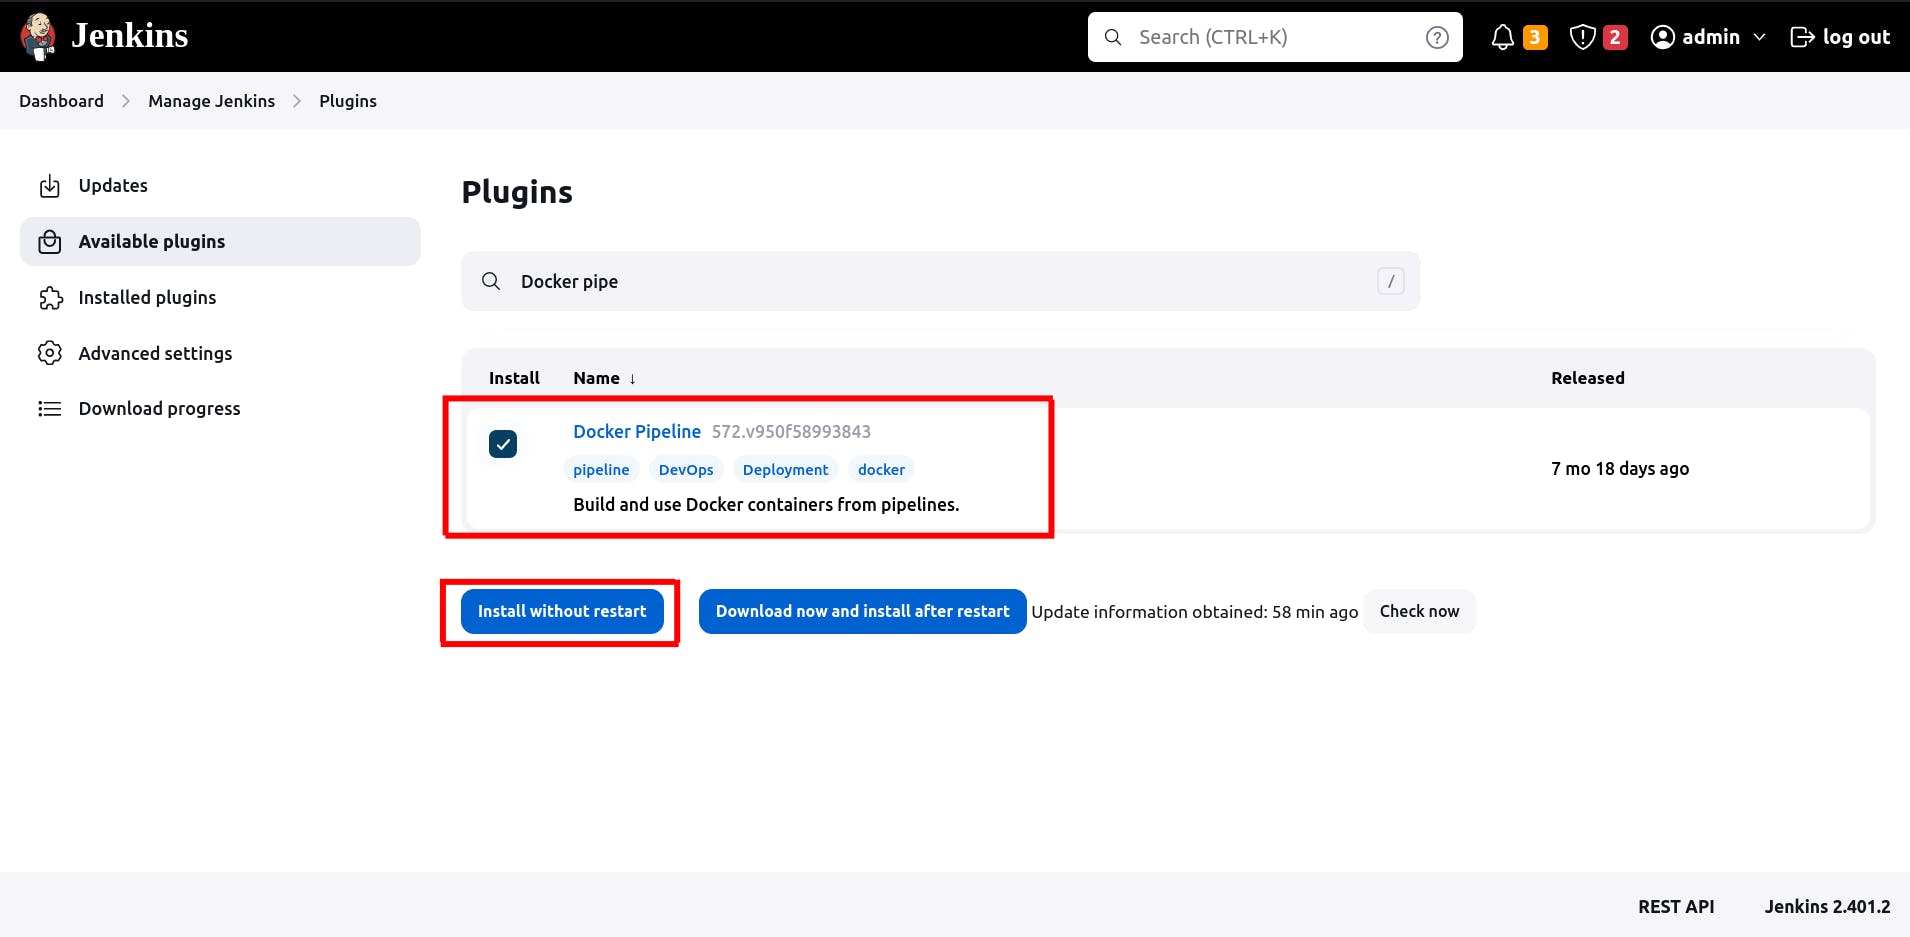
Note: Just in case Jenkins page gets stuck after restart please try to refresh it.
Step 6 : Create a Pipeline Job
Click on "New Item" on the Jenkins dashboard.
Enter a name for your pipeline job, choose "Pipeline", and click "OK".

Step 7 : Define Pipeline Configuration (Jenkinsfile)
Create a Jenkinsfile, which serves as the definition of our Jenkins Pipeline. Copy and paste the following script into your Jenkinsfile:
pipeline {
    agent {
        label {
            label 'master'
            customWorkspace "${JENKINS_HOME}/${BUILD_NUMBER}/"
        }
    }
    environment {
        Go111MODULE='on'
    }

    stages{
        stage('go'){
            steps{
                git 'https://github.com/AyushDabhi/go-webapp-sample.git'
            }
        }
        stage('test'){
            steps{
                sh 'go test ./...'
            }
        }
        stage('deploy'){
            steps{
                script{
                    docker.build('<your-dockerhub-username>/go-webapp-sample')
                }
            }
        }
        stage('run'){
            steps{
                script{
                   sh "docker run -p 8090:8000 -d <your-dockerhub-username>/go-webapp-sample"
                }
            }
        }

    }
}
Step 8 : Save and Run the Pipeline Job
Save the Pipeline configuration (Jenkinsfile) and click on "Build Now" to trigger the pipeline execution.
Step 9 : Access Your Application
Once the pipeline completes successfully, you can access your deployed Go web application by navigating to http://<jenkins-server-ip>:8090 in your web browser.
Congratulations! 🎉 You've Successfully Deployed Your Go Application with Jenkins and Docker!
Credits:
Special thanks to KodeKloud for their insightful guidance on deploying applications efficiently.
