
Jenkins Resilience: Optimizing Data Integrity with Advanced Backup and Restore Techniques


In the world of making software better, Jenkins is like a superhero tool. It helps automate a lot of tasks in building and testing software. But just like any superhero, Jenkins needs to stay strong and reliable. That's where backup and restore come in.
Backing up means saving all the important stuff in Jenkins so that if anything goes wrong, you can bring it back. Restoring is like using a backup to fix Jenkins if it gets messed up. These functions are crucial for keeping Jenkins stable and reliable.
Why Backup and Restore Matter:
Jenkins stores vital data including job configurations, build histories, plugins, and user settings.
Any unexpected event, like hardware failure or accidental deletion, can lead to data loss.
A robust backup strategy minimizes downtime and maintains productivity by swiftly restoring Jenkins to a functional state.
Where Jenkins Keeps its Backups:
Jenkins's configuration and data reside in its home directory, typically located at
/var/lib/jenkinson Linux systems.Key directories include the jobs directory, plugins directory, global configuration files, user data, and credentials.
Priority Files for Backup:
Jobs Directory: Holds crucial job configurations and build histories.
Plugins Directory: Essential for Jenkins's extended functionality.
Global Configuration Files: Define system-wide settings and properties.
User Data and Credentials: Safeguard user permissions and access controls.
By prioritizing the backup of these critical components, administrators can establish a robust backup and restore strategy that ensures the integrity and continuity of their Jenkins environment.
Hands On:
Task 1 : InstallThinBackupplugin
step 1 : Click on "Manage Jenkins."

step 2 : Navigate to "Plugins."

step 3 : Search for "ThinBackup" in the available plugins tab and install it without restarting


Task 2: Configure ThinBackup Plugin
step 1 : See new option added into Manage Jenkins tab

step 2 : Create a folder called "jenkins_backup" inside /var/lib/jenkins on your Jenkins server.

step 3 : Go to "Manage Jenkins" -> "ThinBackup" -> "Settings."

step 4 : Add the backup directory and resolve any permission issues.
will get directory is not writable error

step 5 : To solve this error give permission to directory


Task 3: Backup Your Data
step 1 : Click on the "Backup" button.
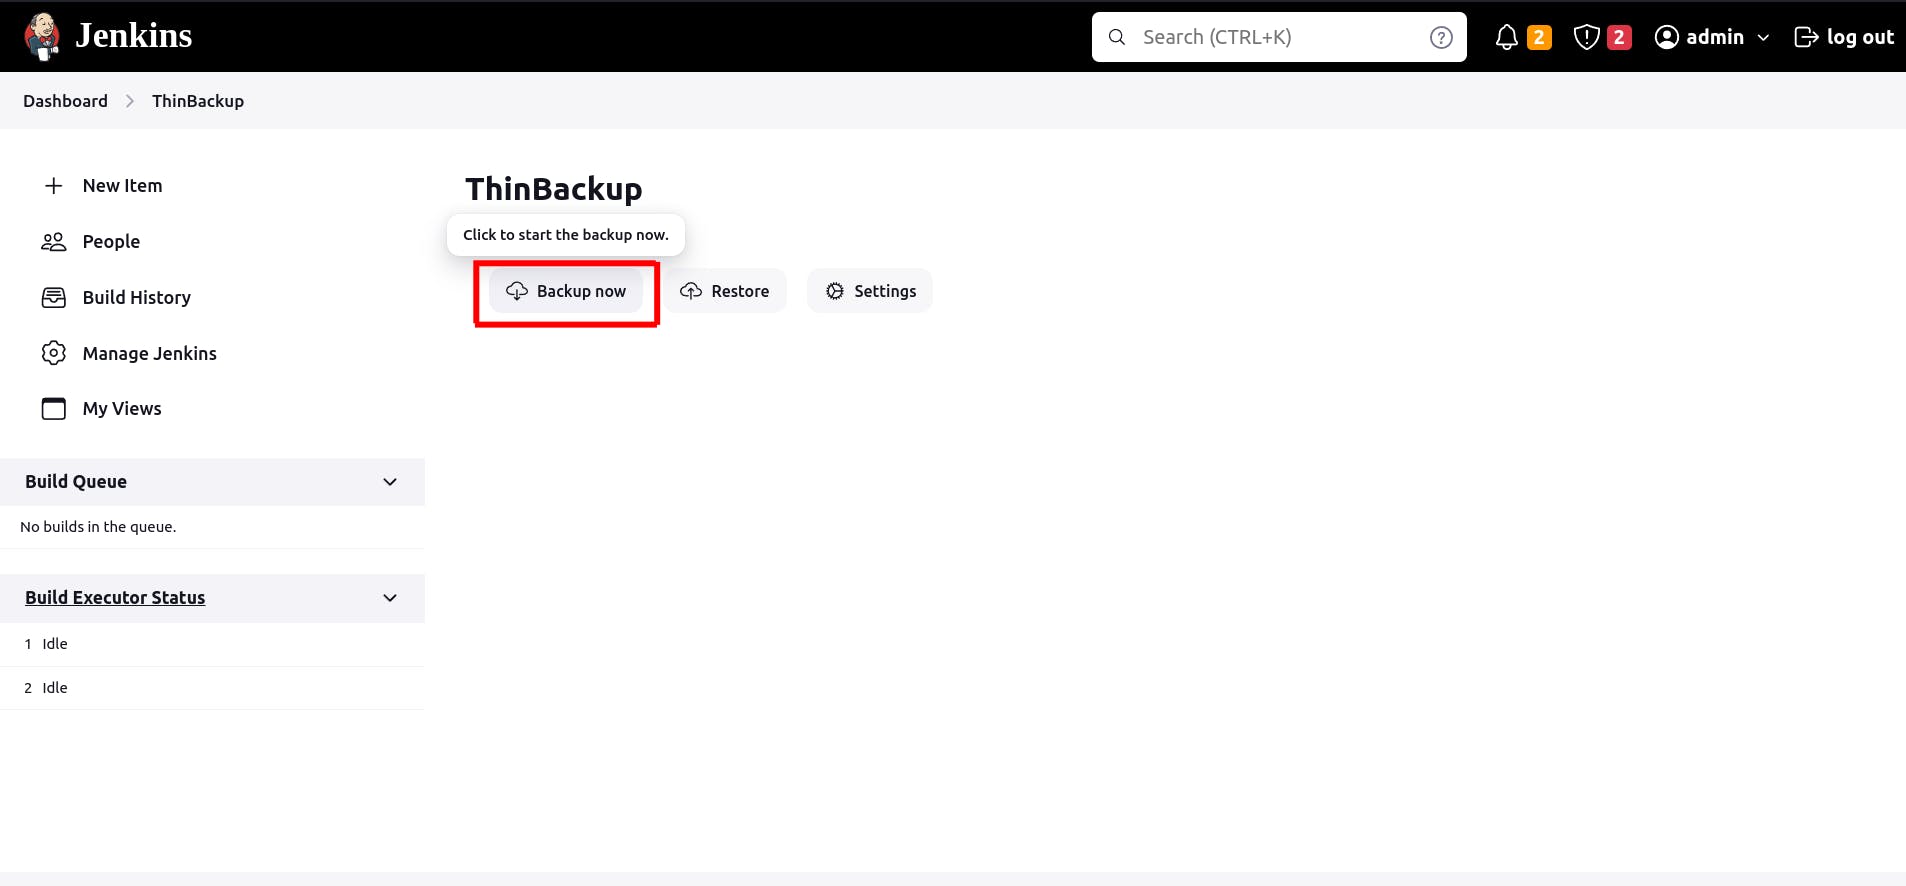
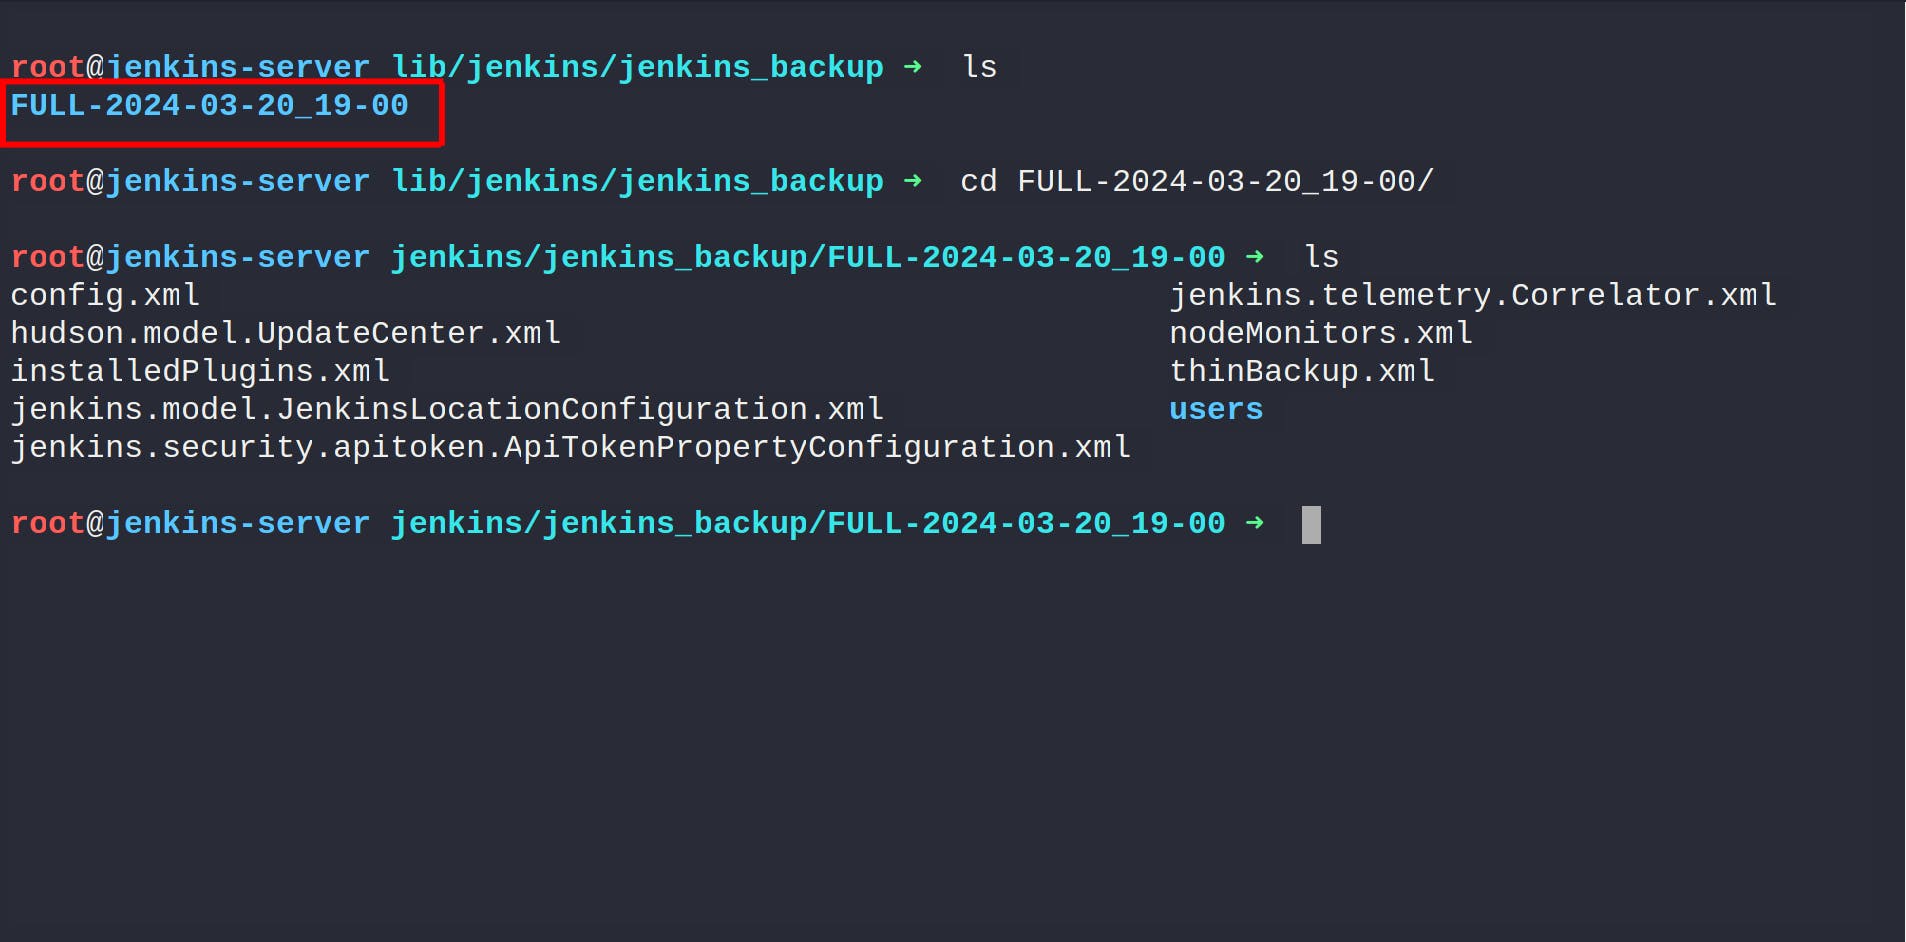
step 2 : View your backup data in the path /var/lib/jenkins/jenkins_backup on your Jenkins server.
Task 4: Restore Data
step 1 : To restore your data, click on "Restore" and choose what you want to restore.

step 2 : Restart your Jenkins server for changes to take effect.
Congratulations! 🎉 on your outstanding achievement! Your hard work and dedication have paid off brilliantly. Here's to many more successes ahead!